
Custom Glass Bottle Design: A Step-by-Step Guide
Understand the complete journey of creating a bespoke glass bottle for your brand. This guide covers the essential stages, from the initial design brief and technical specifications to mould creation, sampling, and full-scale production.
The journey from a design brief to full production of custom glass bottles involves several key stages. It begins with defining your product requirements—capacity, shape, finish, and closure type. This information is used to create detailed technical drawings for approval. Once signed off, a custom bottle mould is engineered and manufactured. Physical samples are then produced for evaluation and testing. After sample approval, a pilot run may be conducted for final quality checks before commencing the full production run, which is managed for quality and logistics through to delivery.
The Custom Glass Bottle Design Process
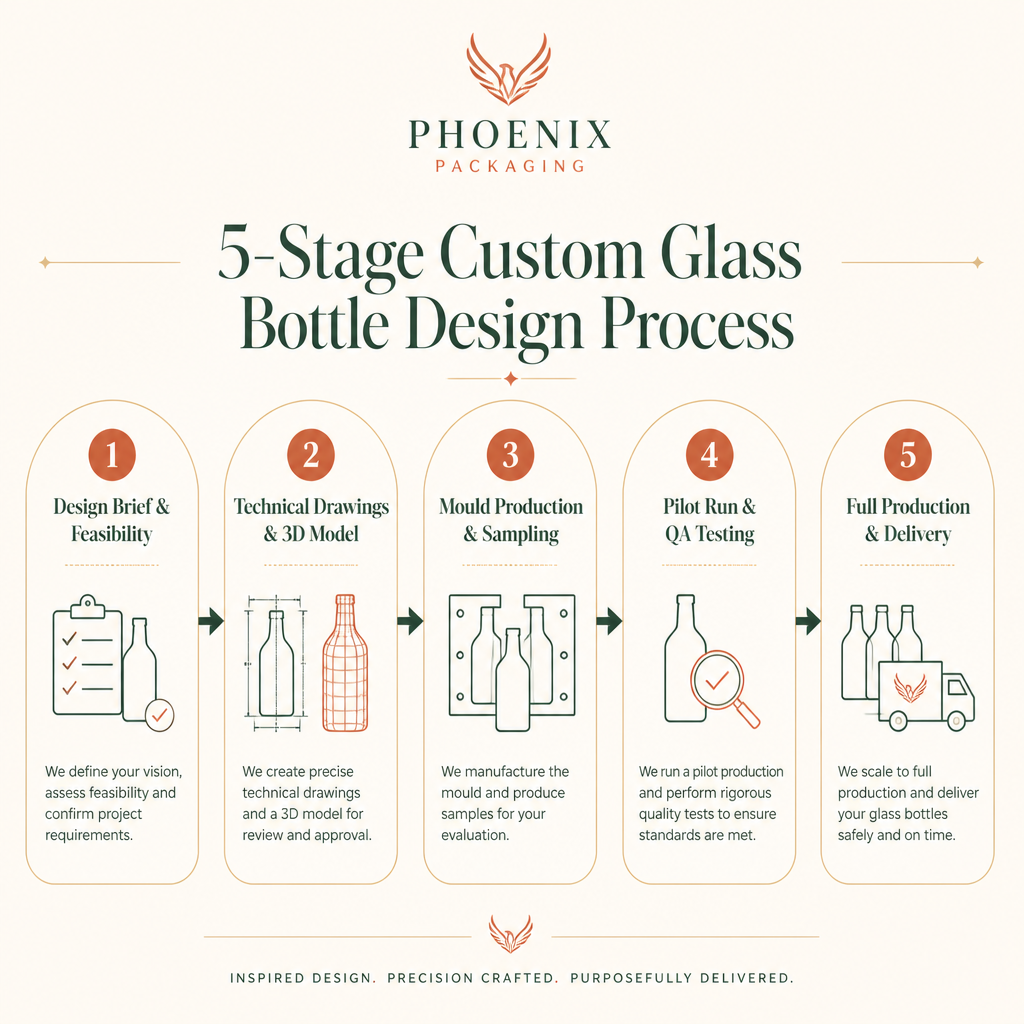
Creating a unique glass bottle that captures your brand's essence is a precise, collaborative process. While every project has unique variables, the journey follows a structured path from concept to commercial reality. Here are the core stages involved when partnering with a packaging specialist like Phoenix.
-
Stage 1: The Design & Feasibility Brief
This is the foundational stage. We start by capturing your vision and commercial requirements. You will provide details on your product, brand positioning, desired aesthetic, and functional needs. Key information includes target capacity, product compatibility, preferred closure type, and any specific branding elements like embossing or debossing. A clear brief at this stage prevents costly misunderstandings later.
-
Stage 2: Technical Drawings & 3D Modelling
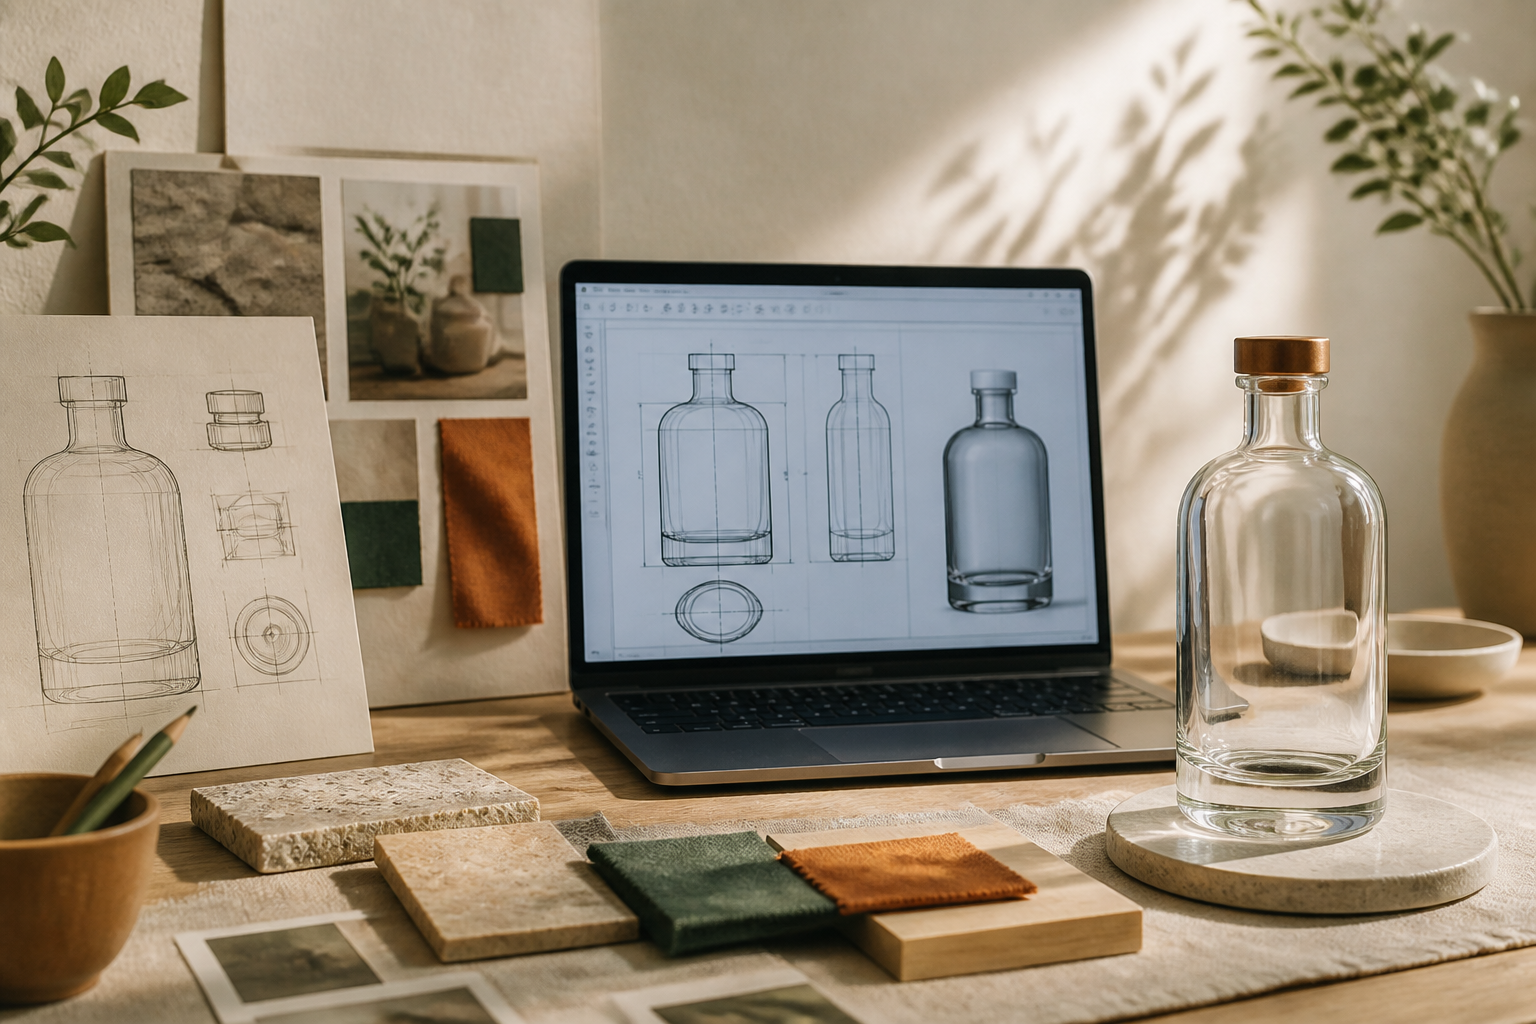
Our design partners translate your brief and creative concepts into precise technical drawings, often called General Arrangement (GA) drawings. These detailed documents specify every dimension, including height, diameter, wall thickness, neck finish, and fill capacity. We also define tolerances and critical quality parameters. You receive these drawings and 3D digital renders for review and approval before any physical production begins.
-
Stage 3: Mould Development & Prototyping
Once you sign off on the technical drawings, the engineering of the custom bottle mould begins. Moulds are precision-machined from high-grade metals to withstand the intense heat of molten glass. After the mould is complete, we produce the first physical glass bottle prototypes or samples. These are crucial for evaluating the final look, feel, and function, including compatibility with your chosen closures and labels.
-
Stage 4: Pilot Run & Quality Assurance
Following sample approval, a small pilot production run may be initiated. This allows for rigorous real-world quality assurance testing at a certified partner plant. Tests include thermal shock (to ensure the bottle can withstand temperature changes), pressure testing (for carbonated contents), and load testing (for stacking and transit durability). This step validates the manufacturing process and confirms that the final product meets all specifications before committing to large volumes.
-
Stage 5: Full Production & Logistics
With all approvals in place, full-scale production commences. Throughout the production run, quality is monitored using methods like precision camera inspection and adherence to Acceptance Quality Limit (AQL) standards. As an end-to-end partner, Phoenix coordinates the entire process, from production scheduling and quality control to secondary packaging and final delivery logistics.
Design Validation: From Render to Reality
Before committing to expensive mould tooling, brands have several options to validate a design concept. Each method offers a different balance of speed, cost, and physical accuracy, helping to de-risk the investment.
| Method | Description | Relative Cost | Typical Lead Time | Fidelity |
|---|---|---|---|---|
| 3D Digital Renders | Photorealistic images of the bottle, often showing liquid colour and label application. | Low | Days | Visual only; cannot be held or tested. |
| 3D-Printed Models | A physical plastic or resin model created from CAD files. Can be painted or finished. | Low-Medium | Days to 1 week | Good for assessing shape, size, and ergonomics. Not suitable for testing. |
| Glass Prototypes | Actual glass samples produced from the finished production mould. | High (part of mould cost) | Weeks (after mould completion) | Exact representation; can be filled, capped, and tested. |
Common Pitfalls in Custom Bottle Development
A successful custom bottle launch requires careful planning. Avoiding these common mistakes can save significant time and resources.
1. Ignoring the Closure System
A beautiful bottle is useless if it cannot be sealed effectively. The bottle's neck finish must be perfectly matched to the chosen closure (e.g., screw cap, cork, ROPP) to ensure product integrity and a good user experience. This should be specified in the initial brief.
2. Underestimating Timelines
Custom mould engineering and manufacturing is a multi-week process. Factoring in time for shipping, sampling, testing, and potential revisions is critical for aligning your packaging development with your overall product launch timeline. Rushing this stage often leads to compromises.
3. Vague Quality Standards
Failing to define critical quality requirements upfront can lead to disputes later. Parameters for cosmetic defects, physical dimensions, and performance tests should be agreed upon at the technical drawing stage, guided by international standards and your specific product needs.
Ready to create a signature bottle?
Our team can guide you through every stage of the custom design process, from initial concept to final delivery.
Sources used in this article
- 1
- 2
- 3ISO 9001:2015 Quality Management SystemsInternational Organization for Standardization
Frequently asked questions
How long does a custom bottle mould take to produce?

The lead time for creating a new set of glass bottle moulds typically ranges from several weeks to a few months. The exact timeline depends on the complexity of the design, the mould manufacturer's schedule, and the time allocated for revisions and approval. It is a critical path item that should be factored into your project plan from the start.
What are the typical minimum order quantities (MOQs) for custom bottles?
Minimum order quantities for custom glass bottles are primarily driven by the production efficiencies of the glass plant. While large-scale production runs are the norm, Phoenix specialises in offering flexibility where possible, sometimes accommodating volumes in the region of 5,000 to 10,000 units, depending on the bottle design and factory partner.
Can I see a physical sample before committing to a full production run?
Yes, absolutely. Producing physical glass samples from the final production mould is a standard and essential part of the process. These samples allow you to approve the design, weight, and colour, and to conduct your own tests for line trials, capping, and labelling before authorising mass production.
What information do I need in a custom bottle design brief?
A strong brief should include your brand identity, target market, the product the bottle will hold (including its properties), desired bottle capacity (in ml), preferred shape or design inspiration, closure type (e.g., screw cap, cork), labelling and decoration requirements (e.g., embossing), and any specific functional or logistical constraints.
Have a packaging brief?
Tell us your product, target volume and launch market — we'll come back with a route that fits.